
Last updated November 15, 2026
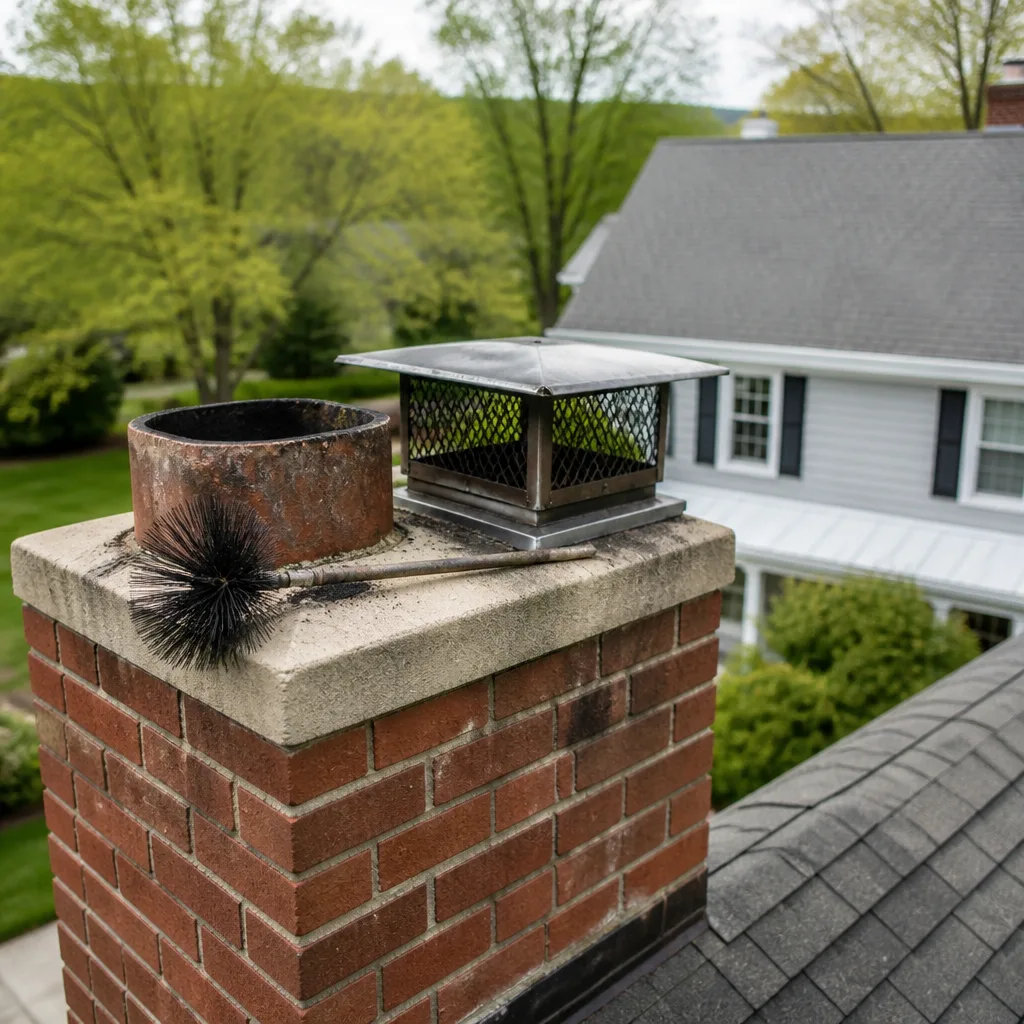 Sweep & inspection
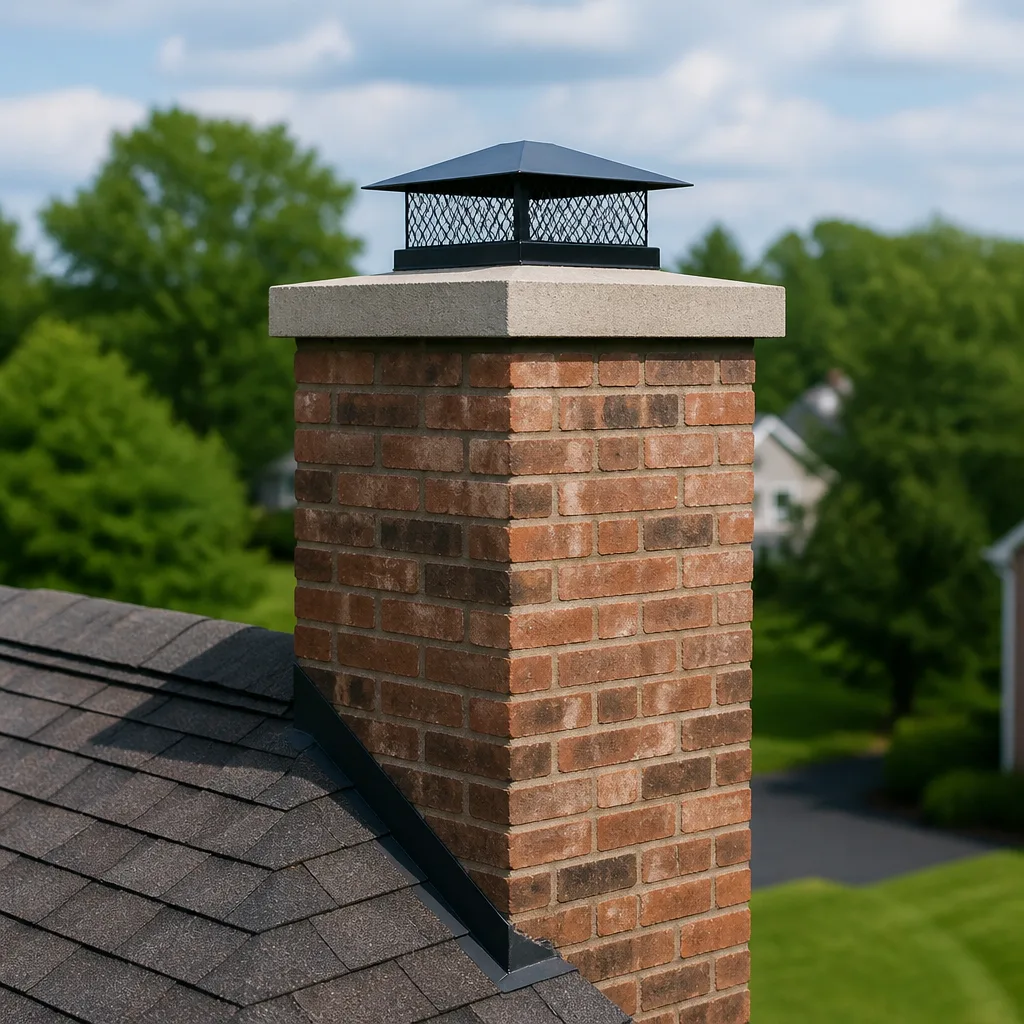 Caps & crowns
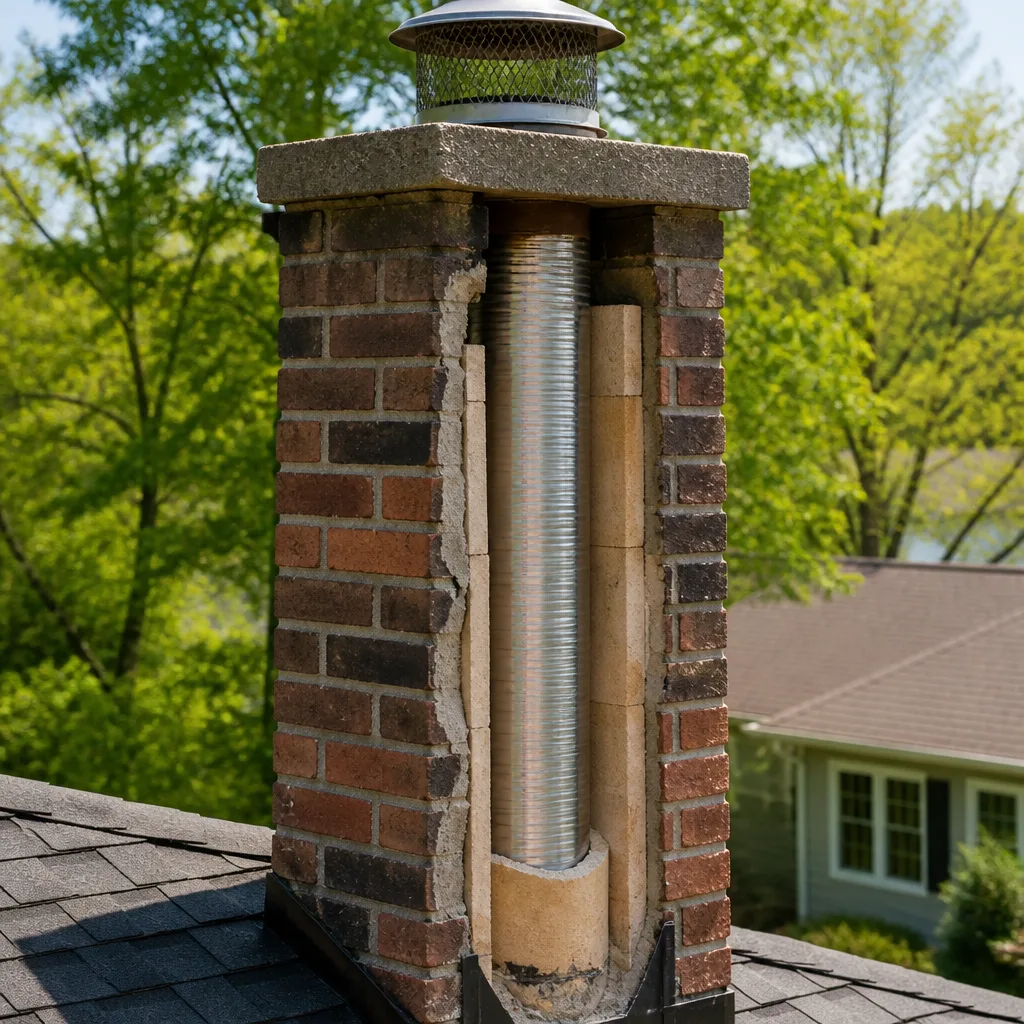 Flue relining
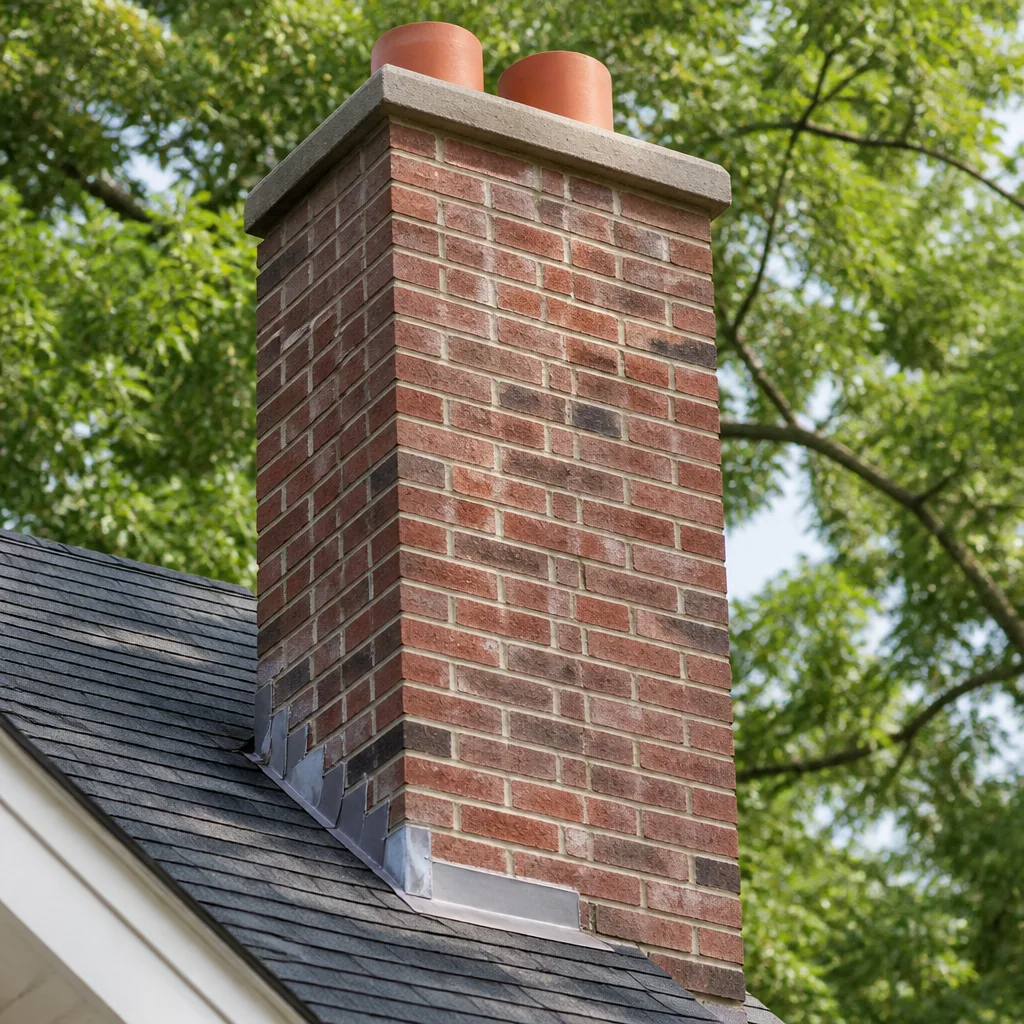 Masonry repair
 Gas fireplace service
Level 1 sweep and inspection to the NFPA 211 annual standard - flue, crown, cap, and flashing checked and photographed
Chimney sweep logs do not sweep chimneys. They loosen some creosote - which then falls where a brush and vacuum still have to collect it.
Chimney Sweep Maintenance Checklist for Kent Homeowners
The single most common reason a Kent chimney fails inspection isn’t neglect. It’s homeowners who thought they were maintaining it but were checking the wrong things entirely. We’ve pulled apart flues that were scrubbed every fall and still had a cracked crown letting water in for years. Others had a spotless firebox but a liner full of glazed creosote a sweep should have flagged two seasons earlier. The gap is almost never effort. It’s knowing which conditions actually matter and which are harmless. This guide walks through a checklist tied to observable chimney conditions, organized by season, so you know exactly what to look at yourself and what to hand to a professional.
Quick Answer
A complete chimney maintenance checklist for a Kent home covers three layers: visual checks you can do safely from inside the firebox, seasonal tasks timed to Kent’s wet winters and dry summers, and annual professional sweep and inspection. Check the firebox monthly during burning season, sweep before first use in October, and schedule an inspection any time you notice mortar crumbling, a cracked crown, or draft problems. Everything above the damper and on the roof belongs to a trained technician.
Styles & brands we work with
- Sweep & inspection
- Caps & crowns
- Flue relining
- Masonry repair
- Gas fireplace service
Table of Contents
- What Can You Safely Check Yourself From the Firebox?
- October Checklist: Before the First Fire
- February Checklist: Mid-Season Inspection
- April Checklist: Shutdown and Summer Prep
- Settling Cracks vs. Spalling: How Do You Tell the Difference?
- How Do You Log Sweep and Inspection History for Insurance?
- Which Maintenance Tasks Void a Factory-Built Fireplace Warranty?
- When Should You Call a Professional?
What Can You Safely Check Yourself From the Firebox?
You can safely inspect the firebox interior and the first few inches of the flue opening without a ladder or any tools beyond a flashlight. That’s the honest boundary. Anything that requires climbing on a roof, removing a damper assembly, or reaching past the smoke shelf is work for a trained technician, and attempting it risks a fall or damage to components you can’t see. Here’s what to check, and what each observation tells you.
- Look up the flue from the firebox with a bright flashlight. You’re checking for two things: a clear vertical path and the texture of the liner walls. Crumbly, flaking surfaces suggest the liner is degrading. Smooth or lightly sooted surfaces are normal.
- Run your hand along the firebox walls and floor. Feel for mortar joints that are soft, sandy, or recessed. Firm joints are fine. Joints that crumble when touched with light pressure need a technician’s eye.
- Check the damper operation. Open and close it fully. It should move without grinding or sticking. A damper that won’t seat is a draft and carbon monoxide problem, not just an inconvenience.
- Inspect the firebox door gasket on stoves and inserts. A gasket that’s frayed, flattened, or no longer springs back is letting air in where it shouldn’t. This affects burn efficiency and is a warranty consideration on factory units.
- Note the color of any staining. Dark streaks running down the firebox face above the opening usually mean draft issues or a crown leak, and both are worth a professional look.
- Smell for creosote in the off-season. That sharp, tarry odor in a cold chimney that hasn’t been used in months can indicate a heavy creosote load that a sweep should confirm.
That’s six checks, all doable in ten minutes with a flashlight. They’ll tell you whether your chimney is behaving. They won’t tell you whether the flue is clean, the crown is intact, or the liner is sound. Those answers come from a proper chimney sweep and inspection performed with cameras and rods by someone who knows what a failing flue actually looks like up close.
What you should never do yourself
Don’t climb the roof to check the cap or crown. Kent roofs are pitched, often wet from rain nine months of the year, and a fall from a roofline is a serious injury. Don’t attempt to sweep the flue with a brush from the firebox. You’ll loosen creosote without removing it, and you’ll risk damaging the liner. Don’t remove the damper or firebox components on a factory-built unit. Those assemblies are engineered to tight tolerances, and getting them back correctly requires knowing the specific unit’s design.
October Checklist: Before the First Fire
October is the window in Kent where the rain has settled in but the fireplace hasn’t been lit in months. That makes it the ideal time to schedule your annual sweep and inspection, before the first burn season deposits a fresh layer of creosote. Most chimney failures we see trace back to a first fire lit into a flue nobody checked since spring. Here’s the sequence for this season.
- Book your annual sweep and inspection in early October. Not because there’s a rush, but because an inspection that flags a heat-damaged liner gives you time to repair before cold weather, not during it.
- Look up the flue and note the soot layer. A quarter inch of soot at the bottom of the flue is normal after a season. A thick, tar-like coating suggests you need a sweep before you burn again.
- Check that the damper opens and closes freely. A damper that’s been sitting shut all summer can stick. Free it now, not on the first cold night.
- Look at the firebox mortar joints and the brick face. Compare what you see now with what you noted in April. New crumbly joints or new staining mean something changed during the off-season.
- Confirm the chimney cap is in place from the ground. Binoculars are your friend here. A missing or damaged cap lets rain, birds, and debris straight into the flue, which is the leading cause of water damage we find in Kent chimneys.
- Test the smoke alarm and carbon monoxide detector on every floor. This is chimney-adjacent but not chimney-specific, and it takes two minutes. Do it before the first fire, not after.
- Have a professional verify the flue condition and crown before the first burn. One inspection catches what you can’t see from the firebox: cracks in the crown, gaps at the flue collar, and liner damage above the smoke shelf.
If you’ve never had a professional look at your flue, schedule a Chimney Sweep Kent inspection before this season. We show you what we find with photos and plain-language explanation, and we say plainly when something can safely wait until spring. If the inspection turns up a repairable crack in the flue liner, we assess whether HeatShield resurfacing can restore it without the cost of a full reline.
February Checklist: Mid-Season Inspection
By February, a Kent fireplace has been running for four months. That’s when the conditions you can’t see from the firebox, specifically creosote buildup and glazing, become the real concern. Glazed creosote is the shiny, hardened layer that forms when volatile gases cool on the flue walls and then get baked. It’s flammable, it’s stubborn, and it’s the reason chimney fires happen. Here’s what to assess mid-season.
- Smell the firebox before lighting. A strong creosote odor that wasn’t there in October suggests buildup is accelerating. This is your cue to book a mid-season sweep.
- Watch the draft. Smoke spilling into the room, a weak draw, or a fire that struggles to establish is a draft problem. It can be as simple as a clogged cap or as serious as a compromised liner, and only a professional can tell which.
- Check for soot on the firebox face. A little is normal. A heavy dark film creeping up the face above the opening indicates back-drafting and needs a technician’s eye.
- Look at the firebox wall texture again. Compare against October. Newly soft or recessed mortar joints this time of year are concerning because they’ve appeared under active use, which suggests heat and moisture are combining to break down the mortar.
- Check the chimney cap and crown visually from the ground. Winter storms in Kent can shift a cap or crack a crown. If you see anything that looks compromised, get it looked at before spring.
- Listen for a low rumble or popping sound during a fire. If you hear anything that sounds like a distant roar or a series of pops, stop using the fireplace until a technician has inspected it. That’s a chimney fire signature and not something to wait on.
The biggest mistake at mid-season is assuming a chimney that seems to draw well is clean. A flue with a light dusting of soot can draft beautifully and still be one glazed creosote layer away from a fire risk. The only way to know is to have it swept and inspected. Our technicians have up to experience reading flue conditions, and a sweep in February is far easier than a repair in April.
April Checklist: Shutdown and Summer Prep
The last fire of the season is the most useful inspection moment of the year. Your chimney has just been through an entire burn season, so every wear condition is at its most visible. April is when you catch problems early enough to repair them in dry weather, and when you set up the documentation you’ll need for insurance. Here’s the shutdown checklist.
- Do a final firebox inspection before the last fire, and a second one after the chimney has cooled. Compare the two. Anything that changed during the final burn is worth noting.
- Check the firebox for new staining, soot streaks, or soft mortar. Photograph anything that looks different from October. Photos are documentation, and they help a technician understand what changed.
- Confirm your annual inspection report is filed. A professional inspection produces a written report and photos. Keep it somewhere you’ll find it, and note the date and the findings.
- Have the chimney swept one final time for the season. A flue that sits all summer with creosote and soot inside is a corrosion mechanism. Creosote is acidic, and it attacks metal liners and mortar joints when it gets damp, which in Kent it will.
- Check the cap, crown, and flashing from the ground. Winter storms are the usual cause of a shifted cap or a new crack in the crown. April is when you catch these before they have all summer to let water in.
- Schedule any repair now, not in October. Dry weather is repair weather. A masonry or crown repair done in May lasts longer than one done in November.
- Update your maintenance log with the date, the findings, and the products used. If a sweep used HeatShield or installed a component, record it. This log becomes your insurance documentation.
This is also when we assess whether a flue that showed heat damage during the season needs resurfacing or a full reline. We specify professional-grade materials like DuraFlex and HeatShield, and we don’t recommend a full reline unless resurfacing alone won’t do the job. One company handles the sweep, the inspection, and any repair, so there’s no hand-off mid-project.
Settling Cracks vs. Spalling: How Do You Tell the Difference?
A hairline crack in masonry mortar is usually normal settling. Spalling is different, and the difference matters because one is cosmetic and the other signals structural deterioration. Here’s how to tell them apart.
Normal settling cracks are thin, stable, and don’t change. They appear in the mortar joint between brick courses, they’re usually a hairline width, and they don’t grow season over season. You can’t fit a fingernail into them. The mortar around them is firm to the touch. These cracks are the result of a house settling into its foundation and temperature movement over the years. They’re not a repair priority.
Spalling is a different animal. It’s when the face of the brick or the mortar joint flakes, peels, or crumbles away. The surface looks pitted or rough, and the material is soft, sandy, or recessed. You can often rub it away with a finger. Spalling signals that moisture is getting into the masonry and freezing, or that the mortar mix was wrong, or that water is running into the joint from a failed crown or flashing. It’s a sign of active deterioration, and it gets worse. The correct response is a professional inspection to find the water source, not a cosmetic patch job.
Here’s a quick way to compare:
- Crack width: Hairline and stable means settling. Wide, growing, or soft-edged means spalling.
- Texture: Firm mortar means normal. Soft, sandy, or flaking mortar means spalling.
- Pattern: Isolated cracks mean settling. Widespread rough texture or multiple crumbly joints means spalling and likely a moisture source.
- Timing: Cracks present since you moved in are settling. New crumbling joints after a wet winter are spalling.
Spalling on a Kent chimney is common because the local climate swings between wet winters and dry summers. That cycle pushes water into any pinhole in the masonry and then pulls it back out, and over years the surface gives way. When we see spalling, we look for the source: a cracked crown, failed flashing, or a missing cap. Repairing the surface without fixing the water source just delays the next round.
How Do You Log Sweep and Inspection History for Insurance?
Insurance documentation for a wood-burning chimney in Washington State has one real requirement: you need to show that the chimney has been maintained by a qualified professional on a regular basis. An insurance company defending a fire claim will ask for records. If you have them, the claim process is straightforward. If you don’t, the conversation gets harder. Here’s the format that works.
- Keep the written inspection report from every year. A proper inspection produces a document with the date, the technician’s findings, photos, and a recommendation. File it physically and digitally. The report is the single most valuable record you’ll have.
- Record the sweep date and what was found. A sweep isn’t just cleaning. It’s an observation of creosote load, liner condition, and debris. Log the date, the level of creosote noted, and anything the technician flagged.
- Log every repair with the product used. If a HeatShield resurfacing was applied, or a DuraFlex liner was installed, or a new cap was fitted, record the product name and the date. This is where professional-grade documentation separates your file from a set of receipts.
- Note the annual inspector or company name. Keep the name of the company and the technician’s findings consistent across years so the history is easy to follow.
- Retain photographs. Photos of the firebox, the crown, and the flue at the start of each season create a visual timeline. If a question comes up later about when a condition appeared, you have a record.
- Store everything in one folder. Digital is easiest. A single folder with a subfolder per year, labeled by season, is enough. Insurance companies aren’t looking for a formal log. They’re looking for evidence that maintenance happened.
We provide a written report and photos with every inspection, and we offer inspection as a standalone service for exactly this reason. If you’re buying or selling a home in Kent, getting an inspection report before closing protects both sides. If you’ve owned the home a while and your records are patchy, an inspection today gives you a clean starting point. Our Kent inspection service supports real estate transactions, insurance requirements, and annual safety checks without requiring you to buy a sweep you don’t need.
Which Maintenance Tasks Void a Factory-Built Fireplace Warranty?
Factory-built fireplaces and inserts are engineered units with specific tolerances, and the manufacturer’s warranty often depends on certain tasks being performed by a qualified technician. The tasks most likely to void a warranty when done by a non-certified party are the ones that involve opening the firebox assembly, replacing the liner, removing the damper, or disassembling any engineered component. Here’s what’s typically safe and what isn’t.
Safe for a homeowner: checking the firebox interior, testing the damper operation, inspecting the door gasket, cleaning the glass with approved cleaner, and removing ash from the ash pan. These are cosmetic and observational and don’t involve the engineered assembly.
Not safe for a homeowner, and often warranty-relevant: replacing a firebox liner, removing or servicing the damper assembly, adjusting the firebox baffles or brick panels, replacing the flue collar, and any work that involves disconnecting the flue. These tasks require specific knowledge of the unit’s design, and a non-qualified attempt can damage tolerance-critical components. A manufacturer that finds evidence of unauthorized disassembly in a warranty claim will often deny the claim.
We work with professional-grade brands across the trade: DuraFlex for liner systems, HeatShield for flue resurfacing, and Gelco and Famco for caps, dampers, and venting components. That range matters for factory-built units because the correct replacement part has to match the specific flue configuration. Getting the wrong cap or damper on a factory-built insert is a common cause of warranty issues and callback repairs. We specify the correct part the first time, which protects your warranty and saves you a second visit.
If your factory-built fireplace is still under warranty and you’re unsure whether a repair will affect it, tell us before we start. We’ll document what we’re doing and why, and we’ll work with the manufacturer’s requirements where they apply. A written record of a professional repair is a warranty asset, not a liability.
When Should You Call a Professional?
Some chimney conditions are maintenance, and some are a phone call. Call a professional immediately if you see spalling, because that’s active structural deterioration. Call if you notice a strong creosote odor in the off-season, because that’s likely a heavy creosote load a sweep needs to confirm. Call if the draft is inconsistent or smoke spills into the room, because that’s a safety issue. Call if you haven’t had an inspection in a year or more, because the annual inspection is the backbone of chimney maintenance. And call if you’re uncertain about any observation from your own checks, because a ten-minute inspection is cheaper than a repair you did or didn’t do at the wrong time.
Chimney Sweep Kent offers free estimates in Kent. We handle sweep, repair, and inspection as one company, so there’s no referral and no gap in accountability. Call (866) 942-7714 for a free estimate. We answer 24/7. Fast dispatch from 7am to 7pm, Sunday through Friday.
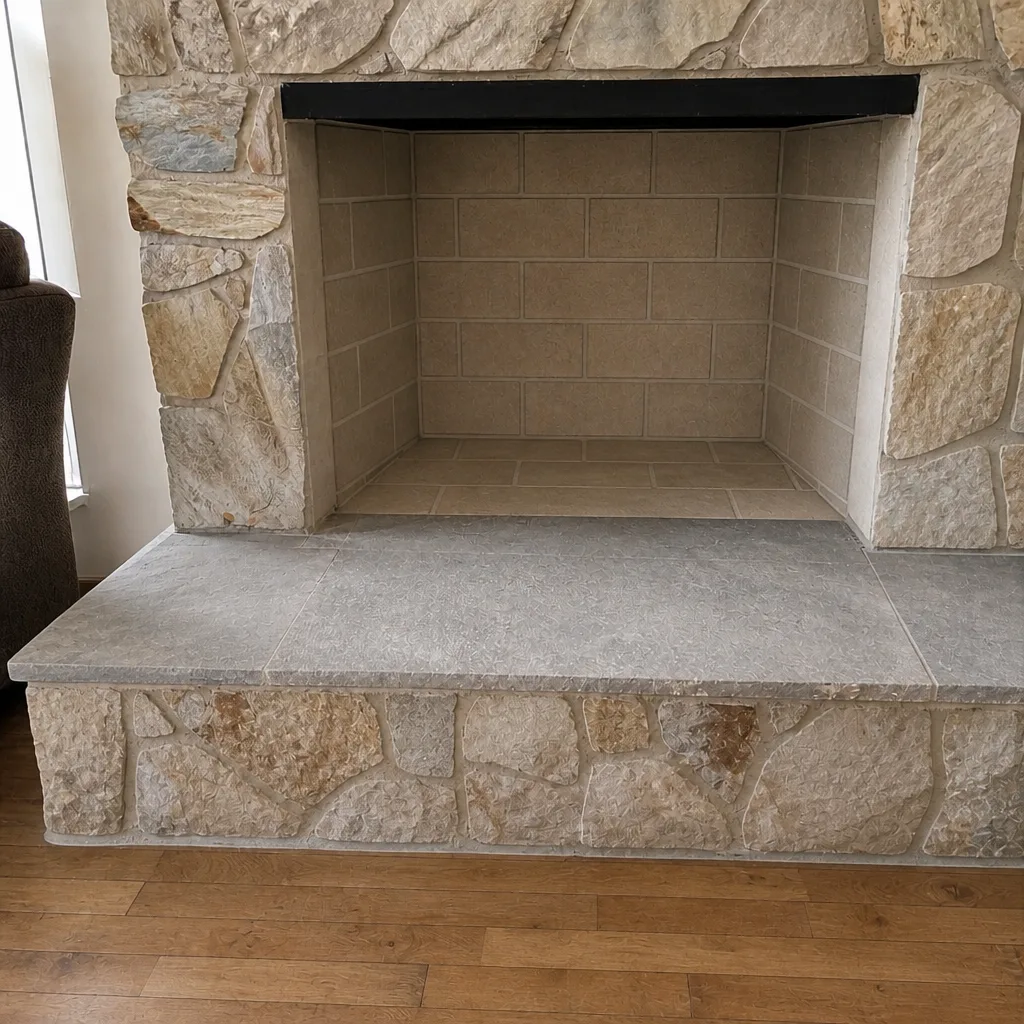
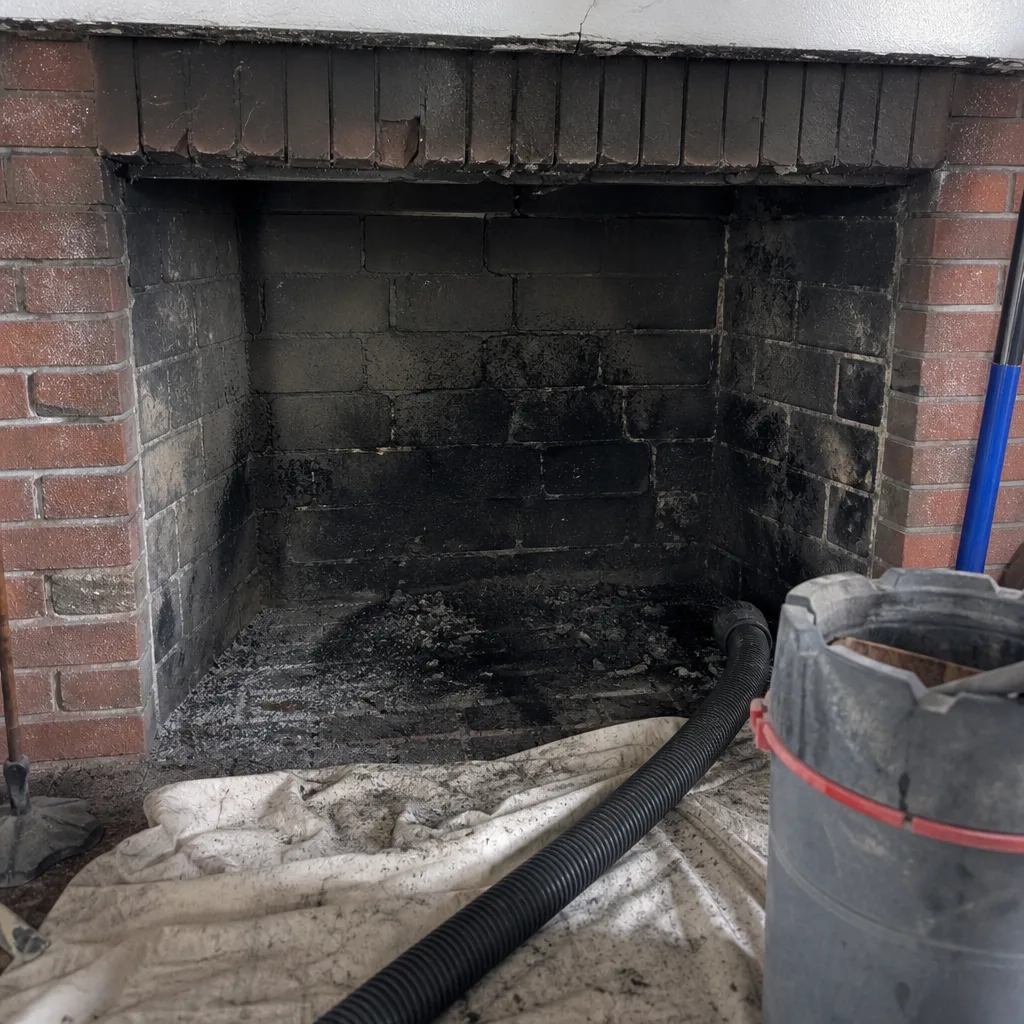
See the difference
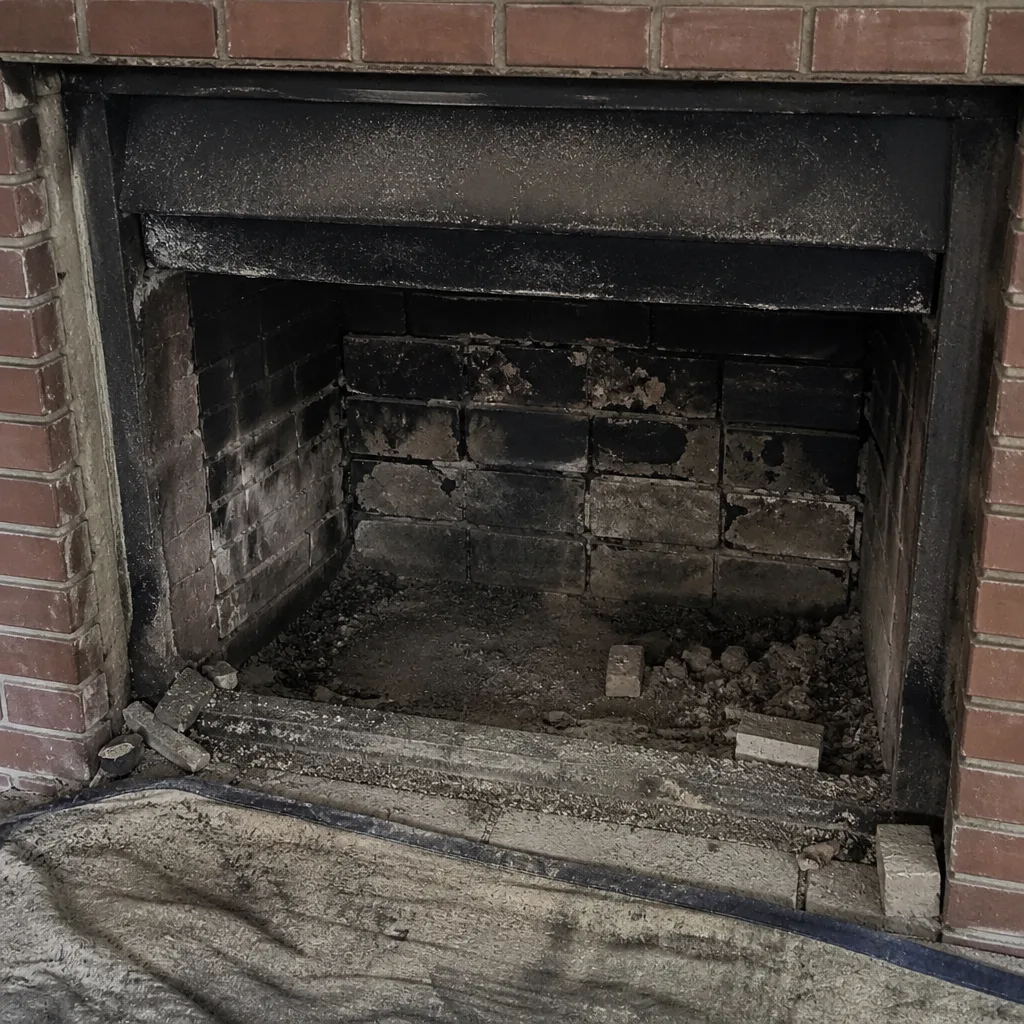 Before
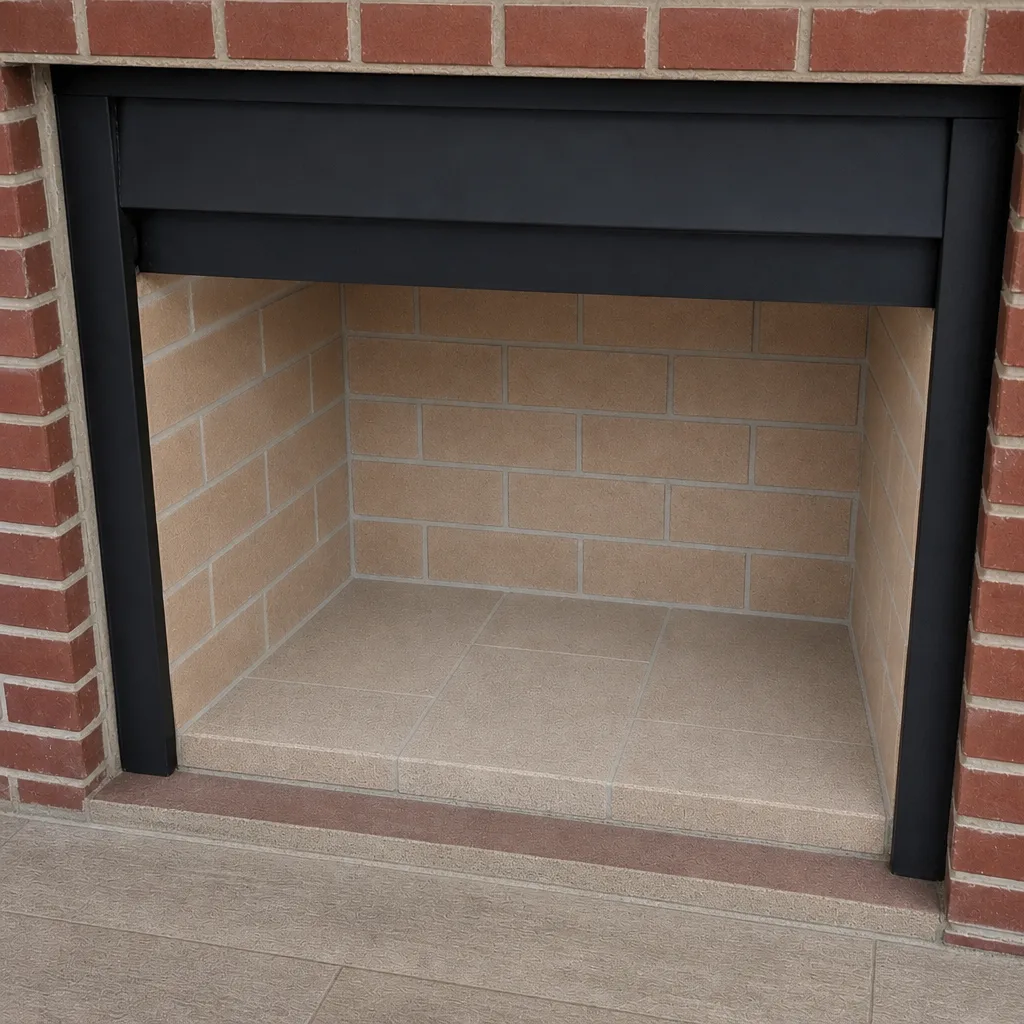 After
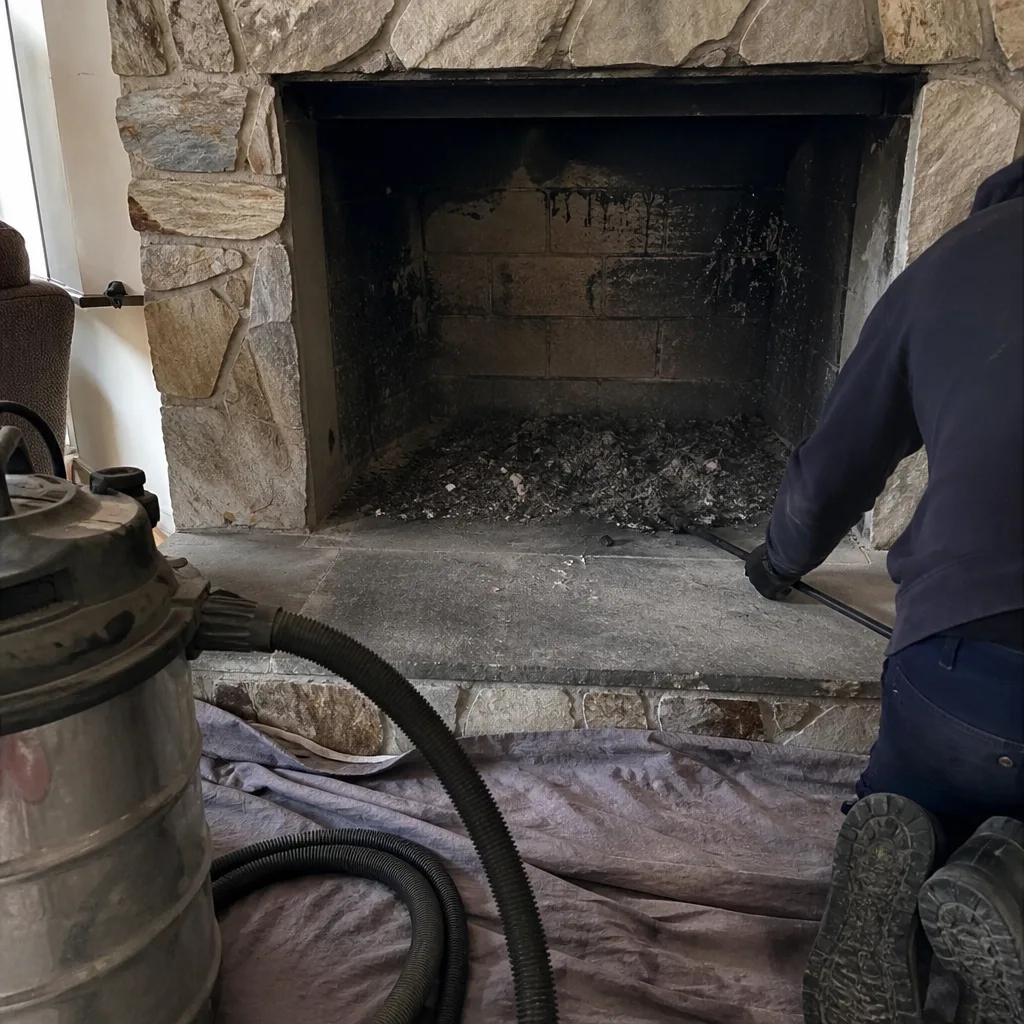 Before
 After
 Before
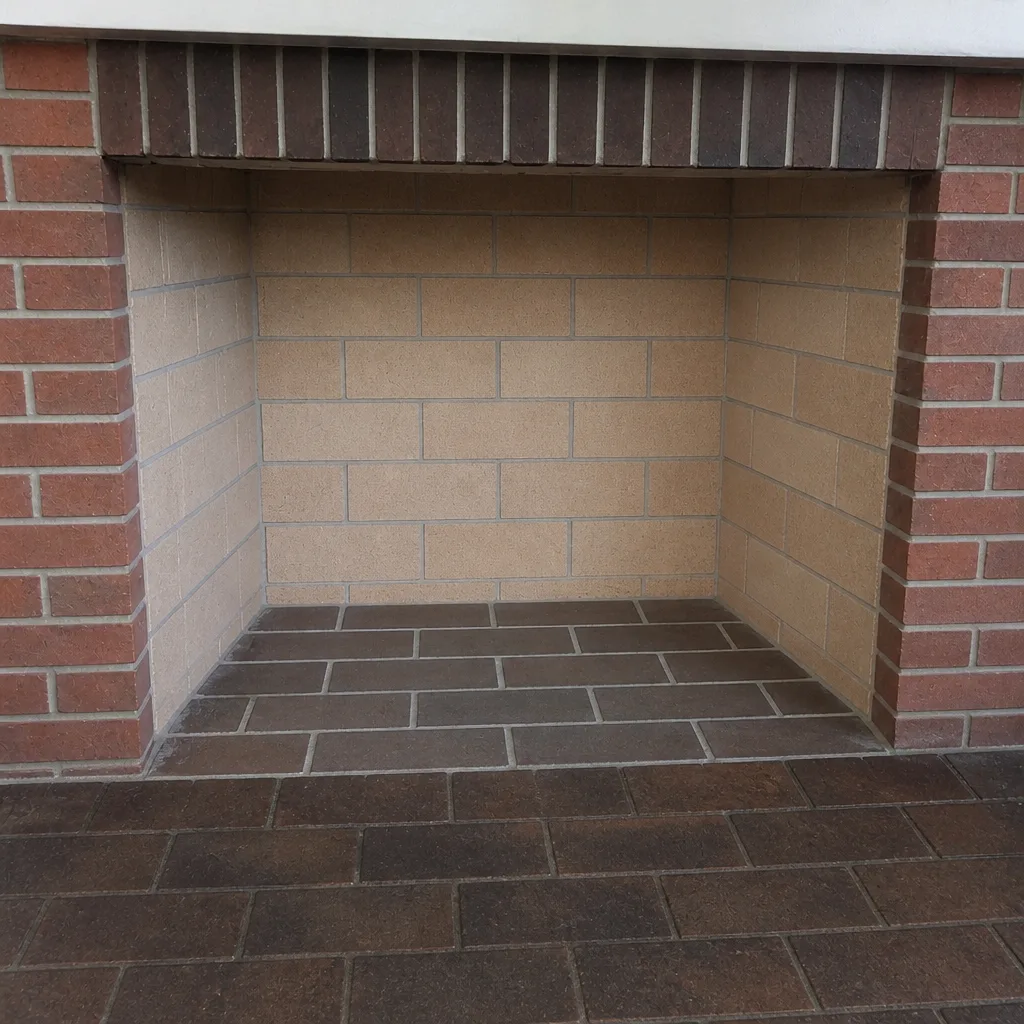 After
Frequently Asked Questions
Once a year for most homes, and more often if you burn frequently or notice a heavy creosote odor between seasons. Kent’s wet winters keep a dormant chimney damp, so an annual sweep before the first fire in October is the baseline. If you burn wood daily during the season, a mid-season sweep in February is worth considering. Call (866) 942-7714 for an exact quote; estimates are free.
A sweep is enough when the liner is sound and only sooted. A liner needs work when the inspection shows heat damage, cracks, or gaps. Before we recommend a full reline, we assess whether HeatShield resurfacing can restore the flue for less. Nothing is recommended without camera evidence you can see for yourself, and we say plainly when a liner can safely wait. Call (866) 942-7714 for a free estimate.
A standard sweep typically runs in the same range you’d see across the Puget Sound area, and the written estimate sets the final price. The free estimate is based on the actual conditions we find. Sweep pricing depends on the flue configuration, the creosote load, and whether an inspection is included. Call (866) 942-7714 for an exact quote; estimates are free.
Creosote builds up in the flue, and creosote is flammable. Over time, and especially with glazed creosote, that buildup becomes a chimney fire risk rather than a maintenance nuisance. The carbon monoxide risk also grows if the draft is compromised. Skipping is not a dramatic event on day one; it’s a slow accumulation of risk that compounds across seasons. Call (866) 942-7714 for a free estimate and get a clear read on where your flue stands.
You can inspect the firebox interior and the first few inches of the flue opening safely with a flashlight, and you should. You can’t safely inspect above the smoke shelf or on the roof. The annual professional inspection is what catches crown cracks, liner damage, and flashing problems that aren’t visible from inside. Both layers belong in your checklist. Call (866) 942-7714 for a free estimate on a full inspection.
Keep the written inspection report, the sweep date, the findings, and any repair records in one folder. Photos at the start of each season create a useful timeline. The goal is to show that maintenance happened regularly and by a qualified professional. We provide a written report and photos with every inspection, and inspection is available as a standalone service. Call (866) 942-7714 for a free estimate.
The Bottom Line
Chimney maintenance in Kent comes down to three habits. Check what you can safely see from the firebox, and know where your safe inspection ends. Time the big tasks to the seasons: sweep and inspect in October, watch the draft and creosote smell in February, sweep and document in April. And keep the records, because the written inspection report and the repair log are what protect you when an insurance question comes up. The homeowners who fail inspection aren’t the ones who skipped maintenance. They’re the ones who checked the wrong things. A proper chimney sweep and inspection, done annually and documented, covers the rest, and one company handling sweep, repair, and inspection means no gaps in accountability. You’ll find the full scope of chimney repair support on our service pages.
Call (866) 942-7714 for a free estimate. We answer 24/7. Fast dispatch from 7am to 7pm, Sunday through Friday.
Written by the team at Chimney Sweep Kent.